
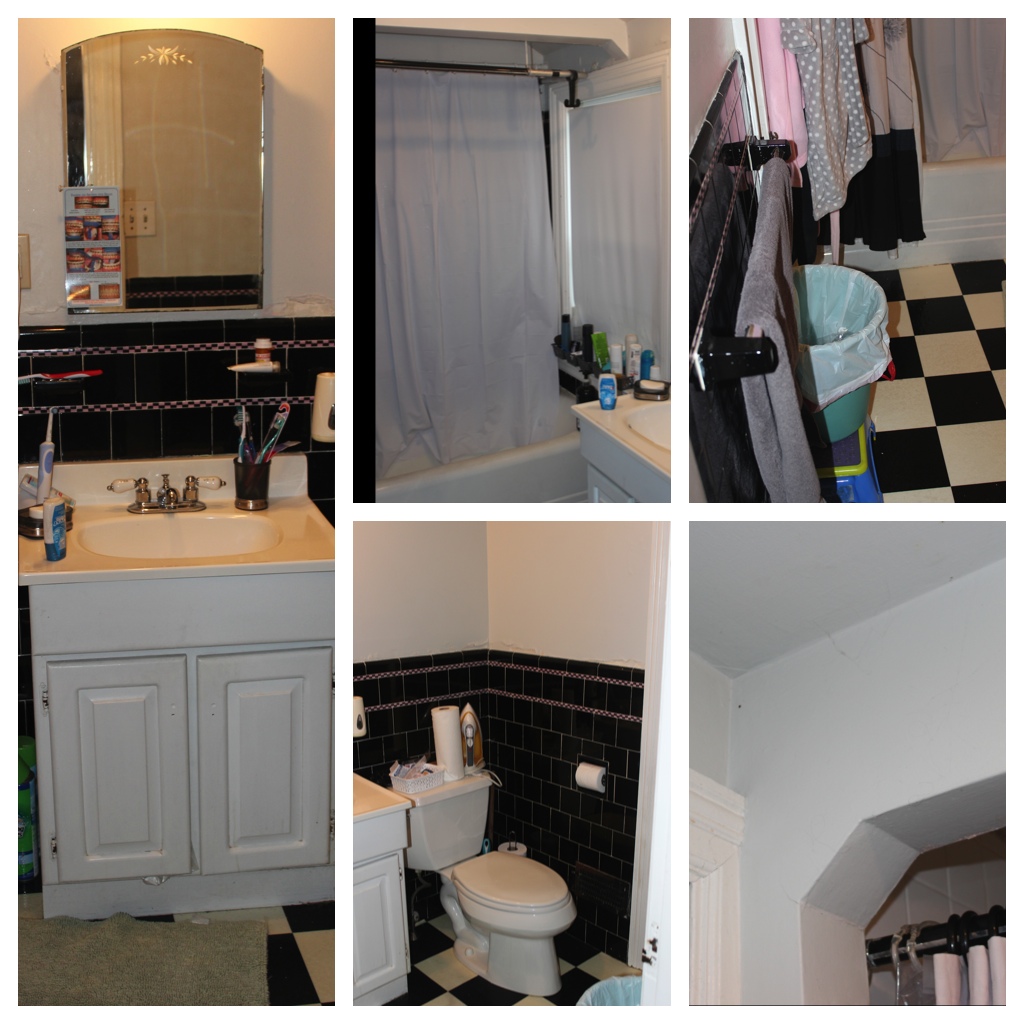
 Kevin and Sue's family bathroom before pictures. A leak has turned their new bathroom dreams into an urgent reality. Water from the tub area has started leaking into the living room - They would not want an old cast iron tub to come crashing through the ceiling onto someone's head! Yikes.
.jpg)
Sue wants to have a “spa-like” feel for her new bathroom. Kevin wants it to be functional. I think we can do both! We start by gathering tile ideas and fixtures so that we are prepared with all decisions and all new materials are on hand when the contractor is ready to start the demolition.
Check out some of our choices so far....
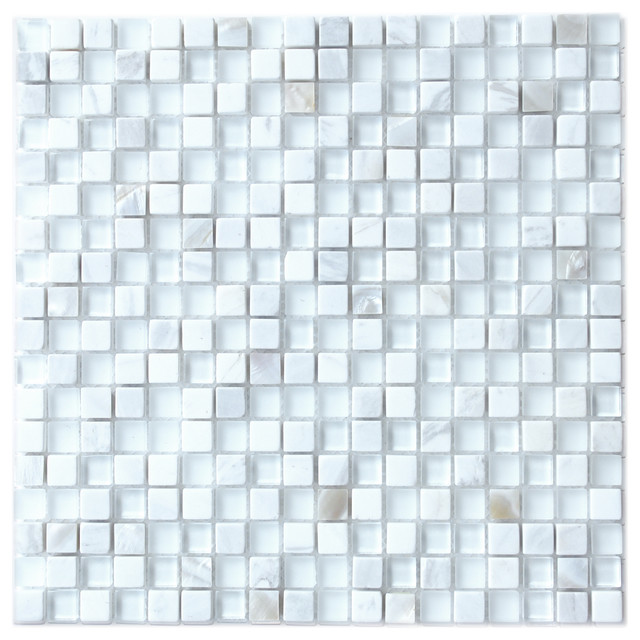
Decorative tile to use as a border around the room - the spa-like feel for Sue! We will cut into strips 4 squares high for a deco border and use 1.5 sheets to line the back of the shower niche.
.jpeg)
Subway tile to surround the shower and 46" up the wall all around the room. The above deco mosaic will be cut into a strip of 4" and framed with a ceramic chair rail and pencil liner.
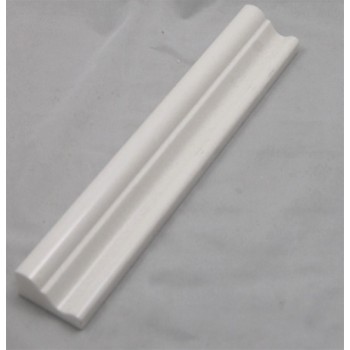
Matching chair rail to top off decorative border.
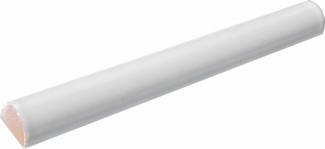
Ceramic pencil liner to frame the bottom edge of the decorative border.
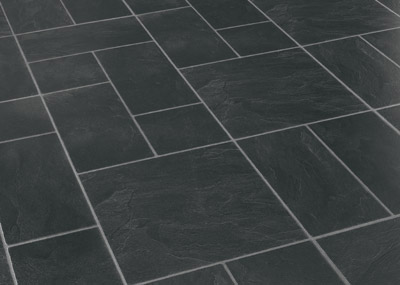
Gray/Black Slate Flooring - We will only use the 12 x 12 squares and set them on a diagonal with a 4" border at the edge to offset the old crookedness of the house :)
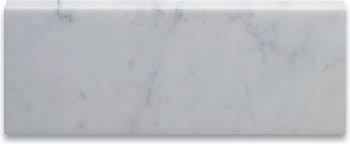
We decided to use Cararra Marble lengths to frame the window to prevent water damage as well as for the doorway threshold. The Carrara will also match the vanity top.
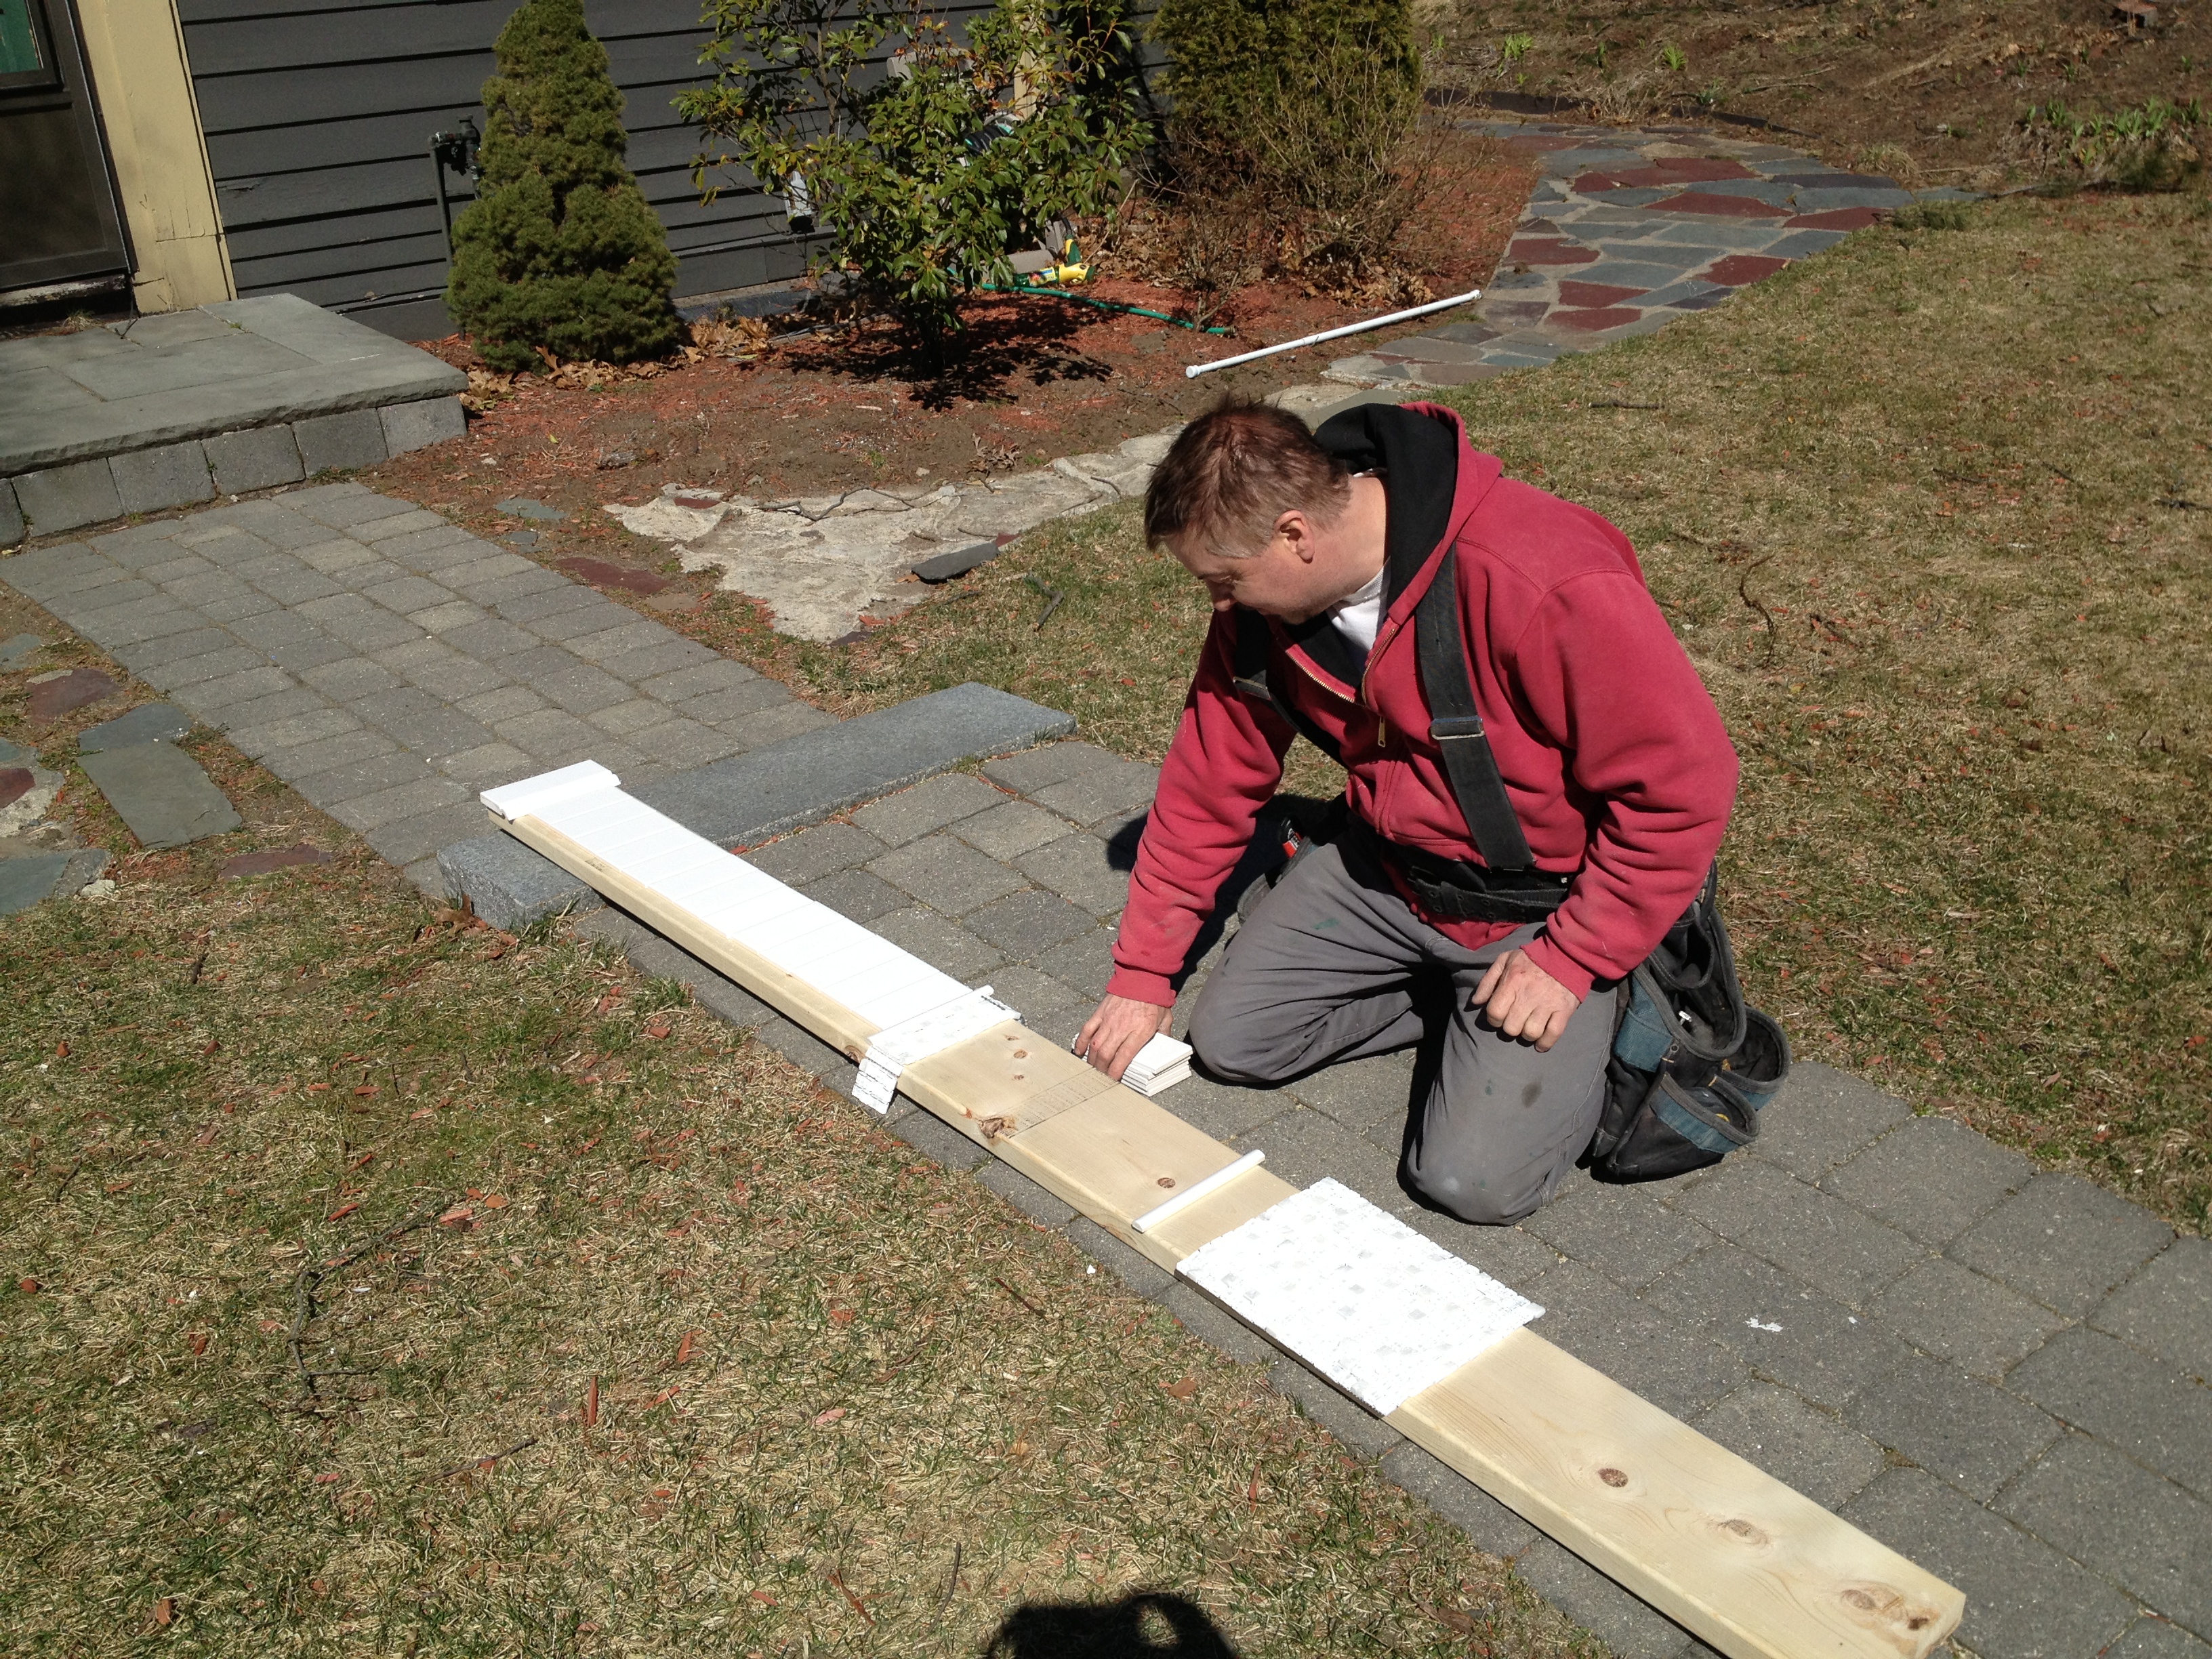
Roger - Tile Installer Extraordinaire - Helping me lay out the tile design for the walls.

Tile Layout Continued.....
Stay tuned for part 2 of our renovation project when we look at a new bathroom layout and plumbing fixtures.
Start to see some progress with the construction -
Your comments make my day. Thank you!